Check and set member properties in CSV at once
This section covers how to check and set the values of the registered member properties for each member at once through a CSV.
The downloadable CSV as well as the uploadable CSV are in the same format, so the CSV can be downloaded, modified, and then uploaded.
The contents of “use member properties” must be implemented in advance and the member property keys must be prepared.
About CSV format
The format of the member property CSV is the same for both downloading and uploading, and is as follows:
Row 1.
Column 1. : (Not used)
2nd Column and onwards: Property Key
2nd Row and onwards
Column 1. : Member Email Address
2nd Column and onwards: Property Value
The character code is SJIS (Shift-JIS).
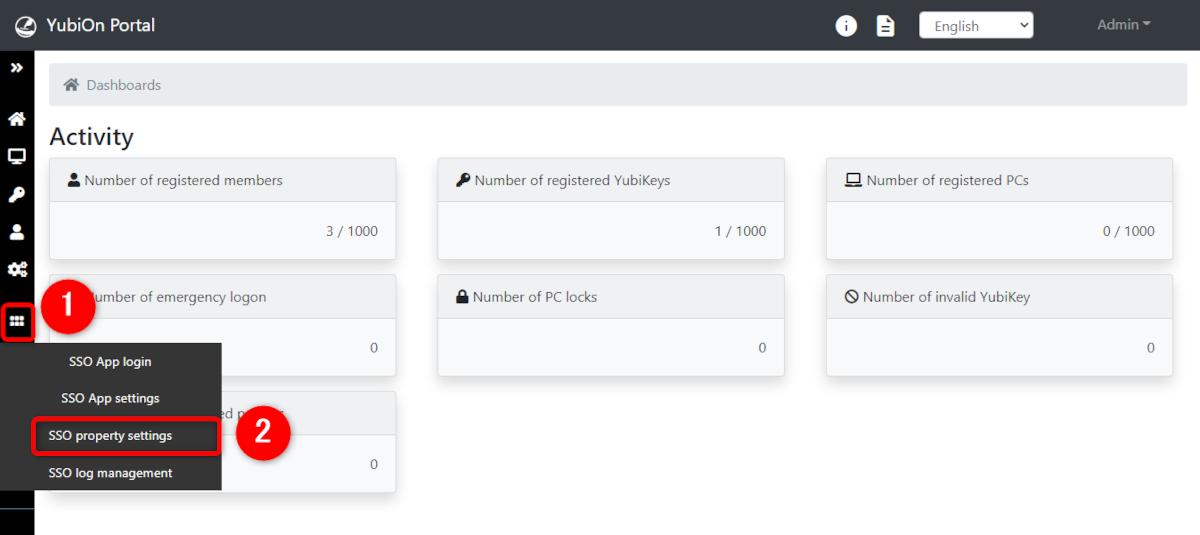
1. Access the Member property settings screen
Click on the “SSO property settings” from the menu on the left side of the screen.
2. Perform various operations
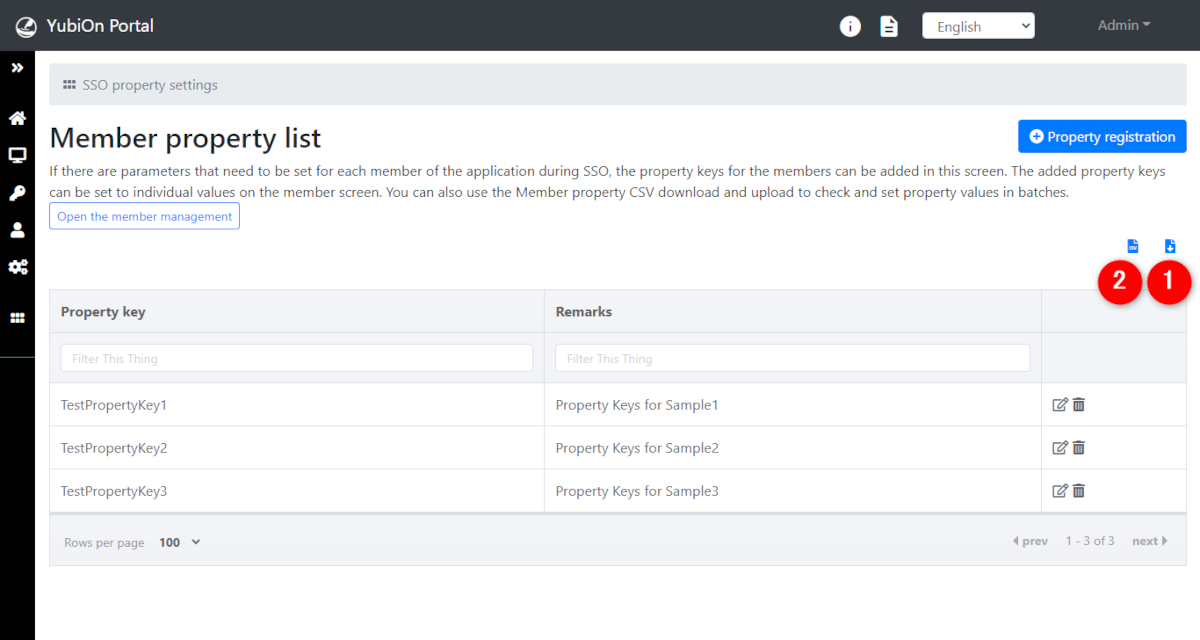
- Download member properties CSV
To download the member property CSV, click on the “Download member property CSV” icon in the upper right corner of the property list.
A menu will appear to select “All members” and “Members with any of properties.” Click on the format you wish to download to download the file.
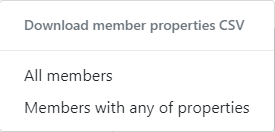
- All members
You can download a CSV containing information on all members, including members for which no member property values are set at all. - Members with any of properties
You can download a CSV containing only members with at least one member property value set.
By downloading the CSV of “All Members”, it can be used to monitor the overall situation, or to use it as a basis for setting up new member properties for other members.
If you want to know and update the status of members who currently have member properties, download the CSV of “members who have any of the properties”.
The appropriate CSV can be selected according to the situation. - All members
- Upload member properties CSV
If you want to upload a member property CSV, click on the “Upload member property CSV” icon in the upper right corner of the property list, and the CSV upload screen will appear.
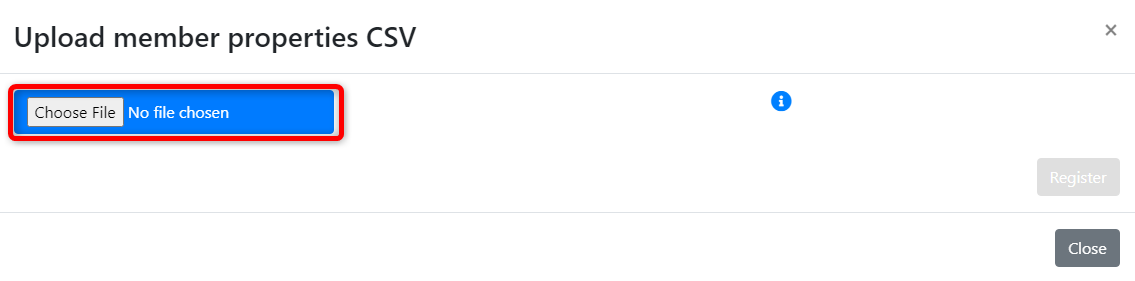
Click the on “Choose File” button to select a file to upload, or drag and drop a CSV file near the button to view the contents of the CSV file.
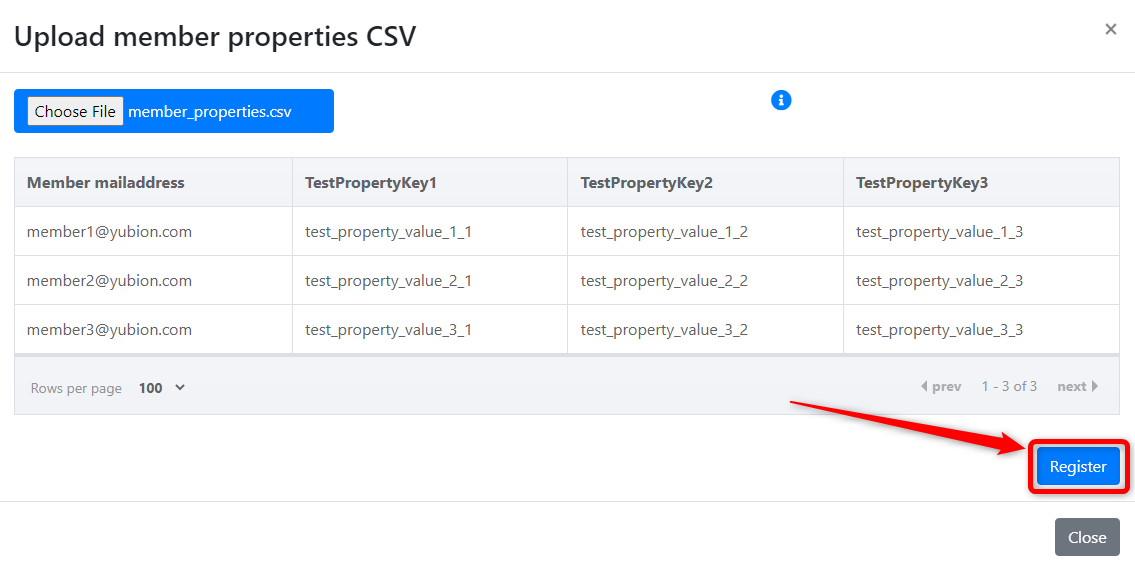
If there are no problems with the contents, click on the “Register” button to set the CSV contents as the member property values.If there is an error in the CSV content, please check the contents of the error message, correct the CSV, and perform the upload procedure again.
The error message may appear when the file is selected, or it may appear when the registration is made.You cannot specify a member e-mail address/property key that does not exist.
This function is used to register members and property keys first, and then set the property values of the members and property keys.Property values for member property keys not specified in the CSV will not be changed.
If you want to modify only a part of the registered property values, you can delete all the unmodified properties, edit the CSV, and then upload it.
In that case, the property values of the deleted columns will not be updated.
Similarly, if you want to modify the properties of only some members, you can delete the unqualified members row by row from the CSV to exclude them from the update.
Conversely, the property value of the specified member property key is always reassigned, so if the value field is blank while the property key is specified, the property value is unassigned.
Please be careful not to accidentally erase values on spreadsheets, etc.