How to use recovery codes with Mac login
This section describes how to use the recovery code set in the group policy when logging in a macOS device.
For information on how to set the recovery code, please refer to here.
About Paid Plans
This function is for paid plans (Premium).
Please purchase a plan when using this service.
About Recovery Codes
This feature requires software version 1.2.0 or higher.
Please refer to here for instructions on how to set it up in the admin console.
Table of Contents
Use recovery code
Start the macOS terminal and open the login screen.

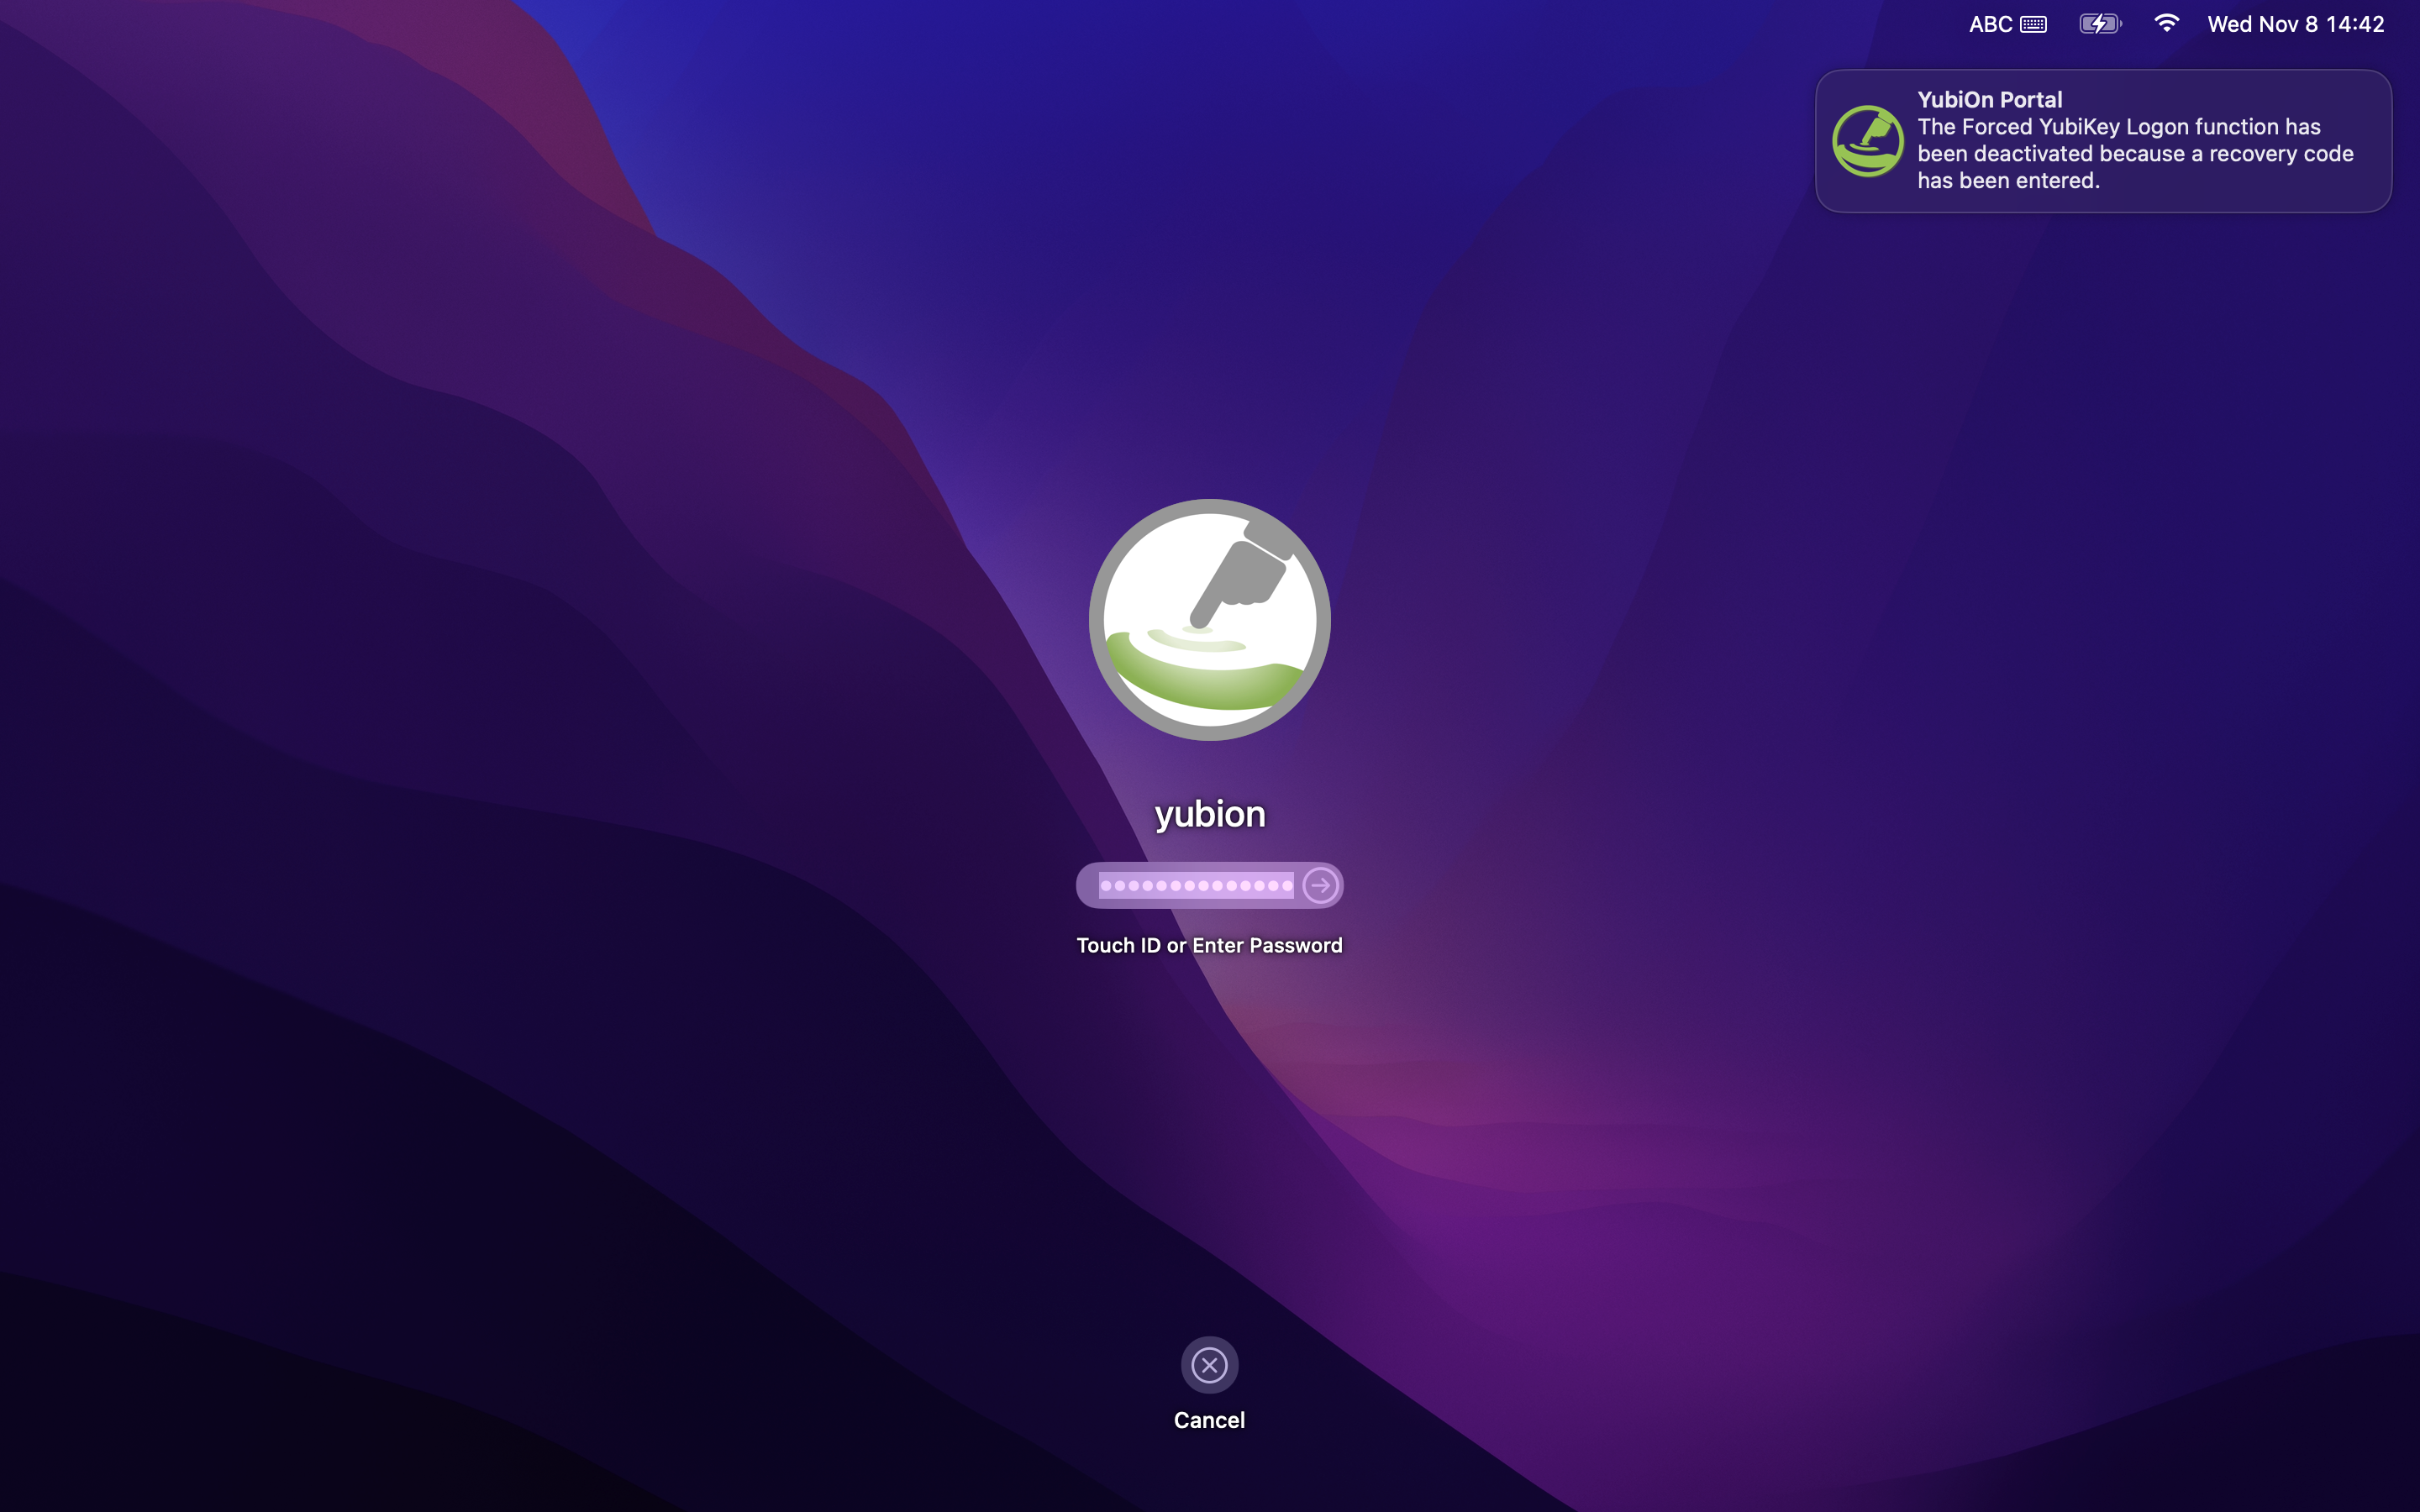
Enter the recovery code set in the group policy in the password entry field and press Enter.

After successful entry, the message “The forced YubiKey logon function has been deactivated because a recovery code has been entered.” is displayed in the upper right corner of the login screen.

Operation upon Successful Recovery Code
Using the recovery code when logging in on a macOS device will remove the two-factor authentication setting.
Continue to enter the “Mac account password” in the password entry field and press Enter.
If the password is correct, the login was successful.

Finally, uninstall the software.
About uninstall
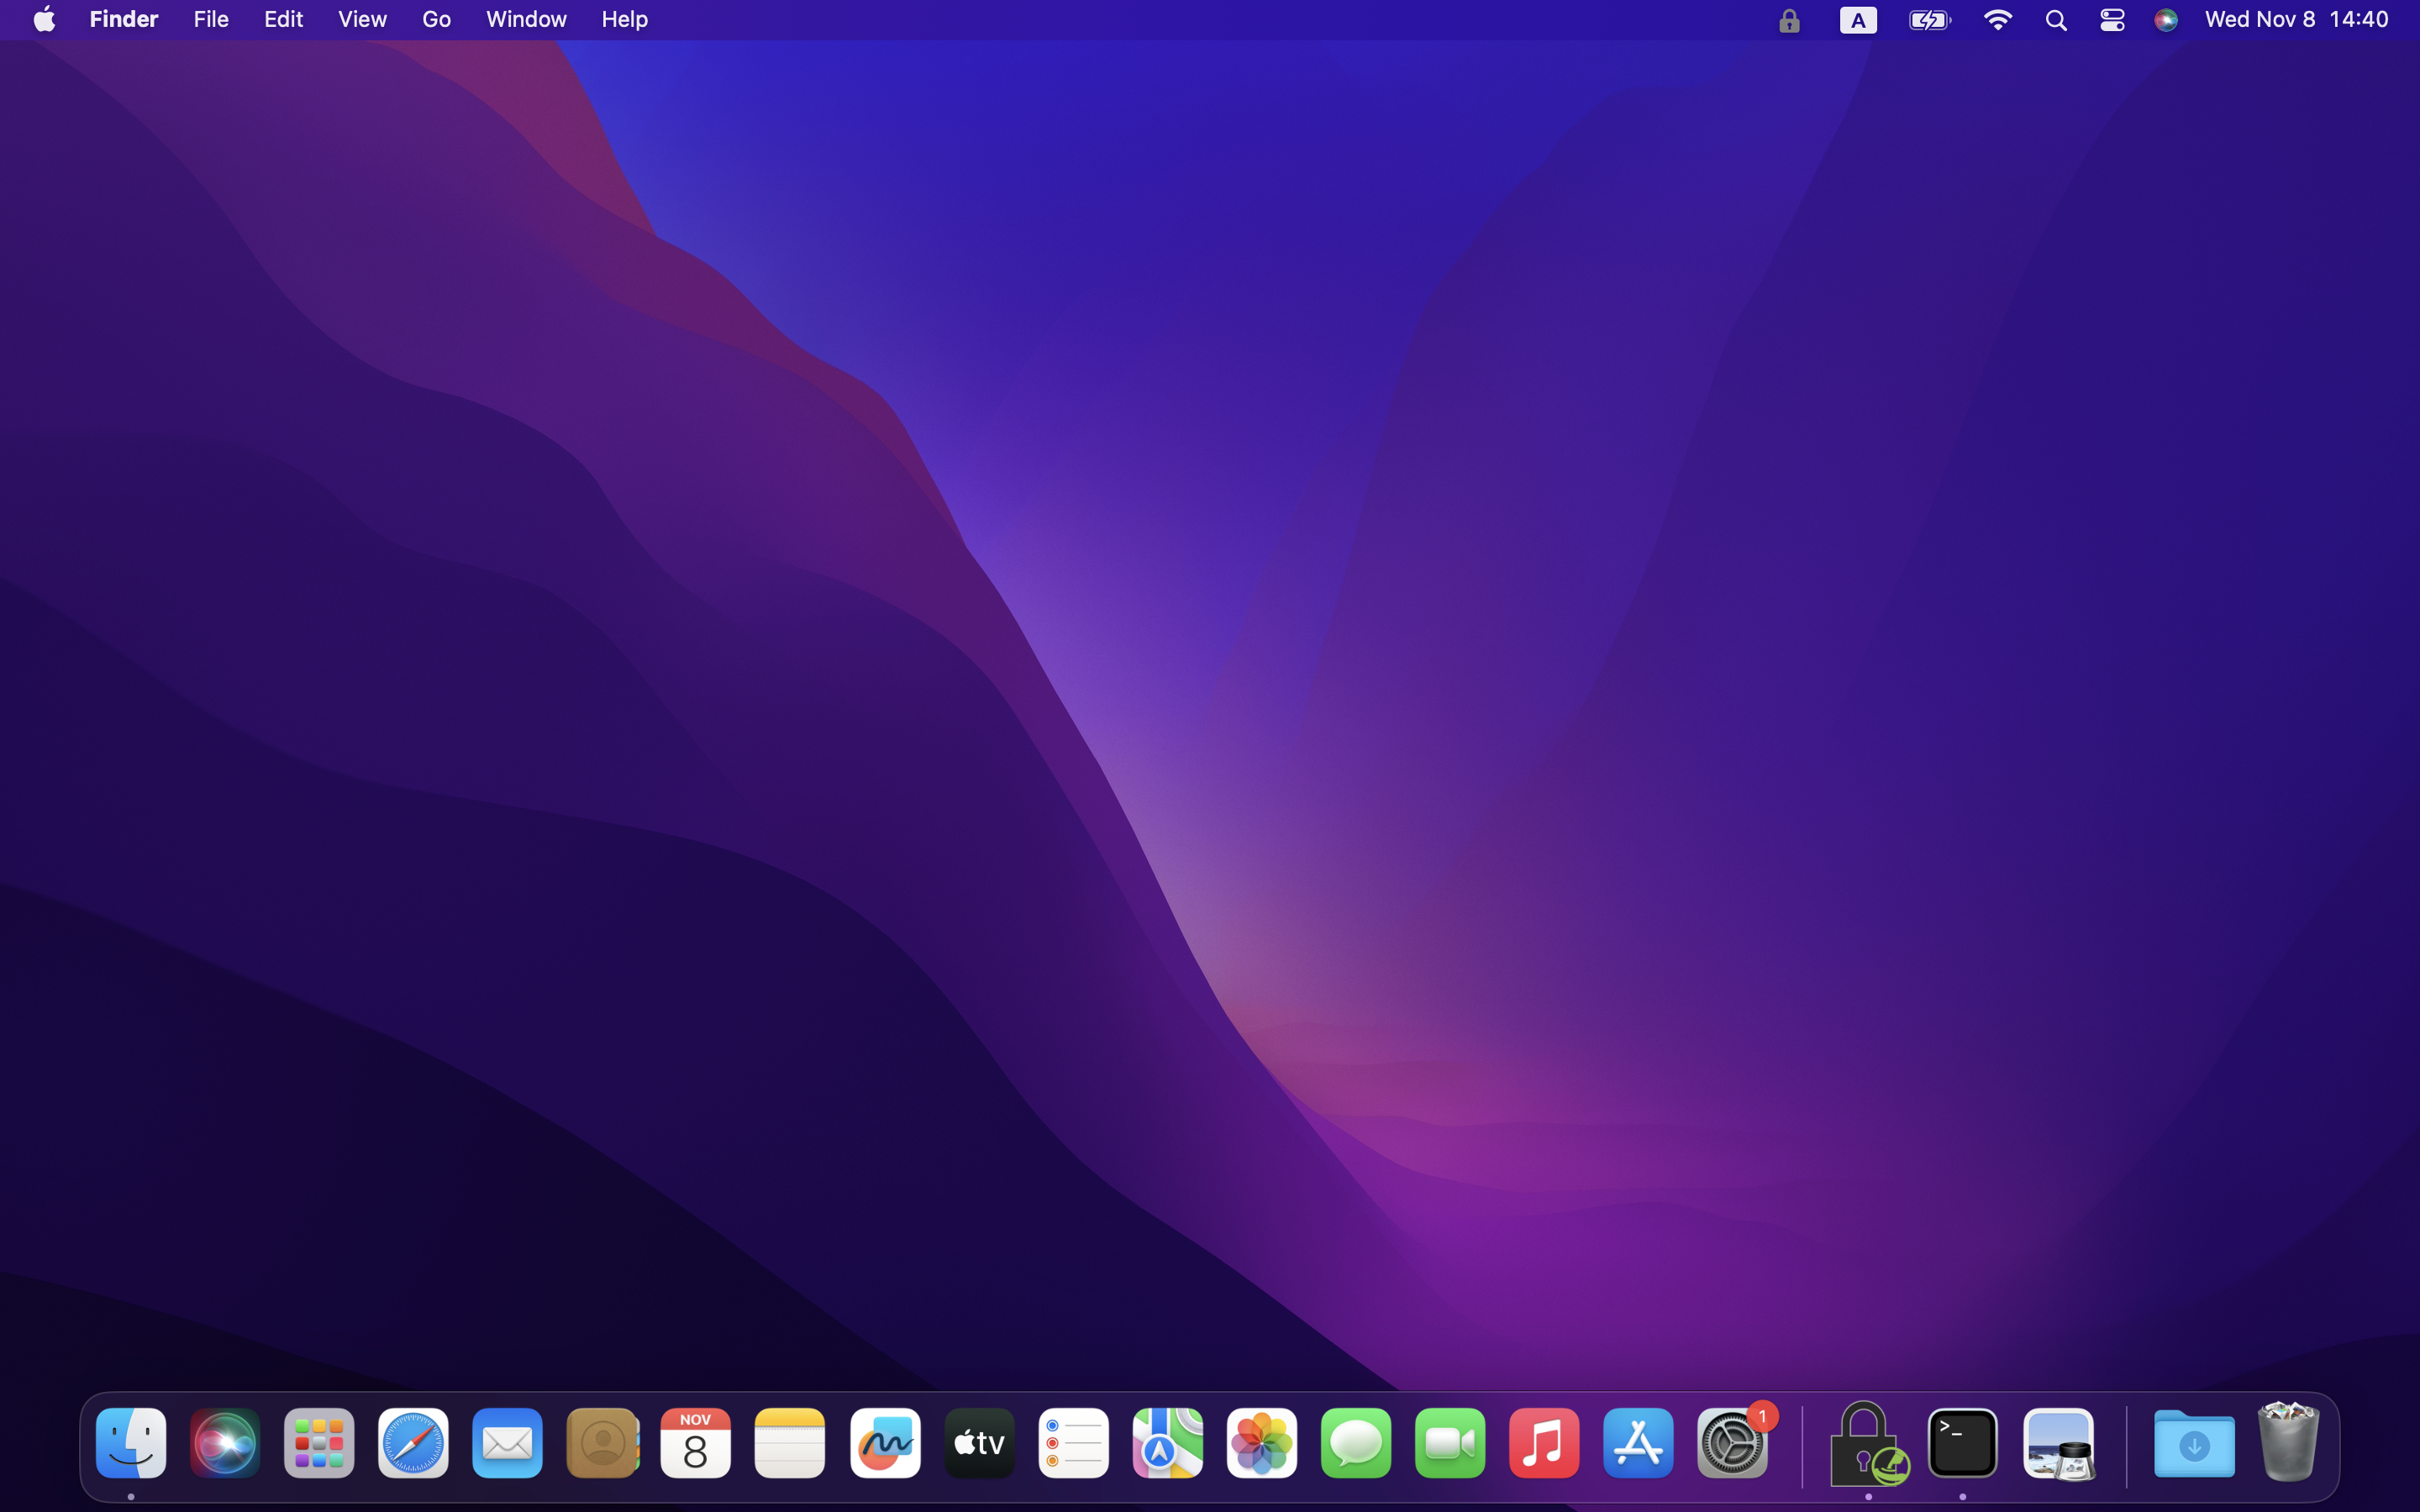
After using the recovery code, please uninstall it by referring to the How to uninstall Mac Login.
This is all about how to use the recovery code.
How to reconfigure YubiOn
To reconfigure YubiOn, you will need to start over from the software installation. Please follow the steps below to install and setup the software.
About setting up two-factor authentication
From the service settings screen, in the group policy to which the target terminal belongs, “Forced YubiKey Logon” must be checked in the group policy to which the target terminal belongs. For more information, see here.
*If the settings have already been made, no operation is required.
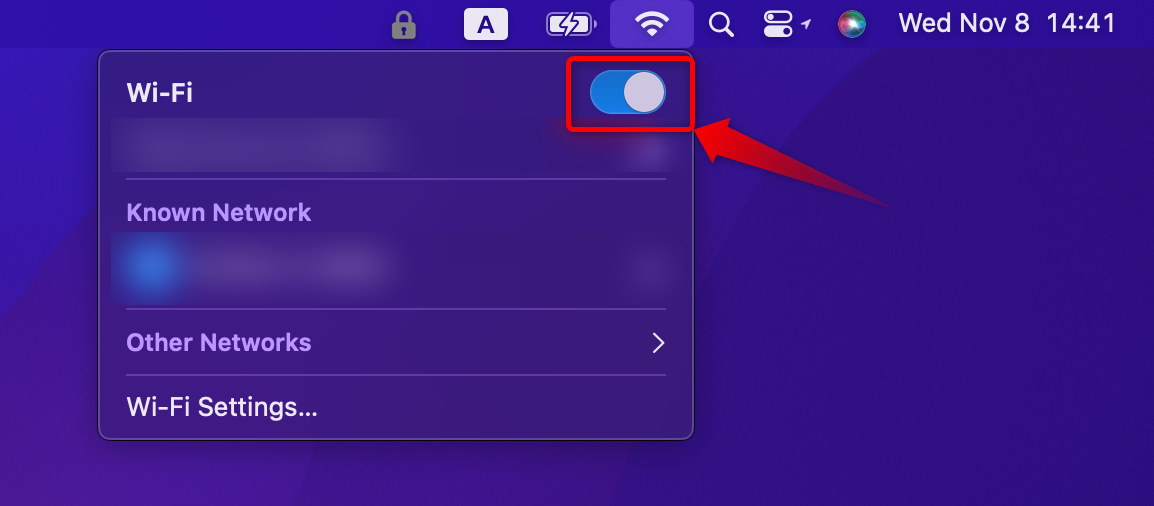
First, check the network connection of the macOS device.
Enable network.

Download the installer by referring to “Download mac login software”.
After downloading, install the software by referring to “How to install mac Login”.
Finally, set up the Mac Login Setup Tool by referring to “How to setup the mac login configuration tool”.
This completes the YubiOn reconfiguration.