Assign Account to PC from Web Screen
It allows for assignment of an account to a PC from the YubiOn Portal management screen.
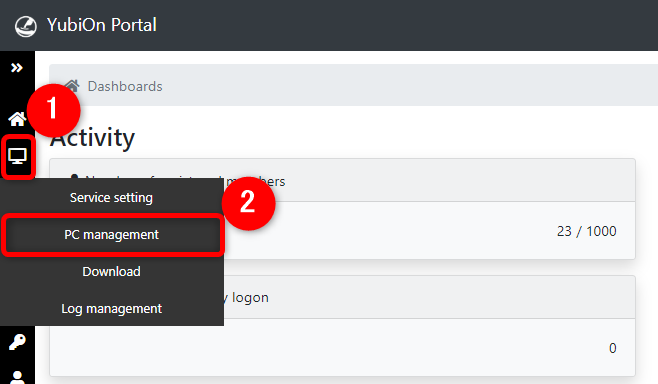
1. Access PC management
Click the “PC” icon in the menu on the left side of the screen, and then click “PC management”.
2. Select PC
Select a PC from the PC list.
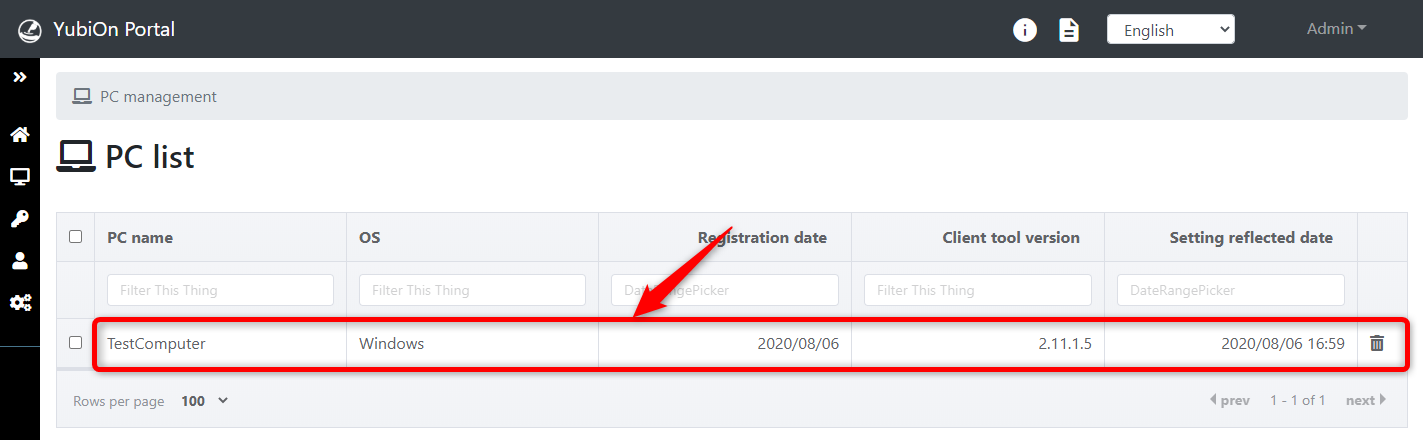
When you click on the PC, the list of accounts assigned to the PC will be displayed.
3. Assigning accounts to PCs
Click the “+” button on the right side of the account list.

Enter the account name and click on the “Register” button.
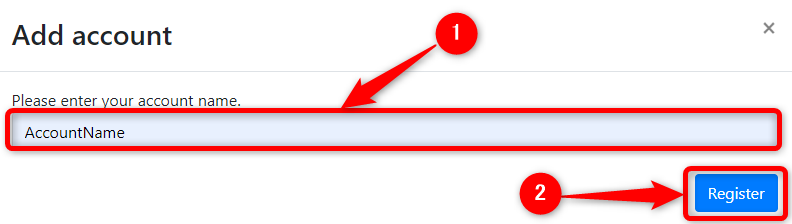
Click “OK” on the confirmation message.
About account display methods
Depending on the account type, the account name will be displayed as follows.
When entering the account name directly, you can specify it using the same notation method.
-
Local accounts
Enter the local account name. -
Microsoft accounts
Enter your Microsoft account email address. -
Active Directory accounts (including Hybrid Microsoft Entra Join)
Specify in the format “(domain NetBIOS name)\(account name)”.
(*) If the client has configured User Principal Name (UPN) usage settings, specify the UPN. -
EntraID accounts
Specify in the format “AzureAD\(EntraID account email address)”.